Here's a slouchy hat that I recently made. This yarn is so soft and the colors remind me of pumpkin spice. Mmm, I can smell the pumpkin pie.
My little one wanted to get in on the action too. Here he is modeling for you, and pointing at you too.
I had some yarn left over, so I made some matching earrings with my Triangle Earrings Pattern.
Here's a couple new earrings that I recently made. One with the free pattern from the previous post and the other is made from these black cube beads that I have. I painted them with acrylic paint. So here are my Chocolate Triangles, and Dice Earrings.
Here's another free pattern. I made a couple beanie hats with this same cotton yarn. I think they would look nice worn together.
Materials:
F size crochet hook
Worsted weight cotton yarn Jump ring Earring hook
Notes:
ch2 in beginning of row counts as 1st stitch
Instructions:
Make a slip stitch, ch 4, then join to make a ring
Row 1: ch2, 3 dc in ring, (do not join) (4 st)
Row 2: ch2, turn, 2 dc in first 3 st, 1 dc in last (7 st)
Row 3: ch2, turn, 1 dc in same st, *2dc in next st, 1dc in next st* rep to end (10 st)
Fasten off, weave in ends.
Attach your jump ring through the beginning ch4 ring, attach the earring hook and close the jump ring. You may need a couple set of pliers to close the jump ring. Jewelry pliers make it so much easier, but I think any kind of pliers that can grab it will do the job.
I love seeing finished products from my patterns. If you want to be featured on my blog with your finished items, just shoot me an email. If you don't want to be featured but still want to send me pics, that's great too! Just let me know in the email if you want me to post your pics or not.
I saw this pattern a long time ago in a blog that I follow called Crochet and Other Stuff. I finally came around to making it. I thought I was going to run out of yarn, but I had just enough yarn to finish it. It was a little bigger than I expected, but I made some extra decreases and now it fits my tiny head. The brim needs a little work, but it doesn't look too bad so I will leave it how it is. The next one I will do a little different, with a few more increases in the brim.
To match my purple spiral hoops, I said I was going to make a necklace to match. It's been difficult to come up with something original, especially when I'm new at this sort of thing. I've been looking for ideas and trying to come up with something. As I was driving home from work this afternoon an idea started brewing! I have an hour commute so I had a long time to think. When I got home I started. I got out my Thing-A-MaJIG and some thread to see how much wire I will need.
This will be the shape of the focal piece off the necklace. Then I got my gold colored 20 gauge brass wire, and cut it and made my shape.
That wasn't so bad. Next I added my purple thread. This was easier said than done. I started on the left side and crocheted in the same place and just slid the stitches to the right to cover the wire. When it was all covered, I twisted it a bit to make the spiral. Luckily, that also hides my bad crocheting in the beginning part.
Wait, it needs something else..
Now, if I had a chain this is when I would attach it. I don't have a chain.. Only wire. I'm not gonna let that stop me. I took out my Thing-A-MaJIG again and started on my chain. This wire stuff isn't as hard as I thought, but it is time consuming and sometimes tests my patience.
I made this hat when I created the pattern for the Floppy Sun Hat. I wanted to embellish it with something but I didn't know what. I was flipping through one of my inspirational crochet books, "Crocheting School A Complete Course," and I found a lovely flower. What do you think?
Fall is a colorful time. I love to see the trees changing colors and rainbow leaves. That also means it's going to be cold here soon. I don't like cold. Even though I hate being cold, I do like the change of the seasons. I like being able to wear long sleeves and sweaters for a few months then short sleeves and tanks later in the year. I like variety. My husband says he has never seen a wardrobe as eclectic as mine. I could be four different people in one week! Ha!
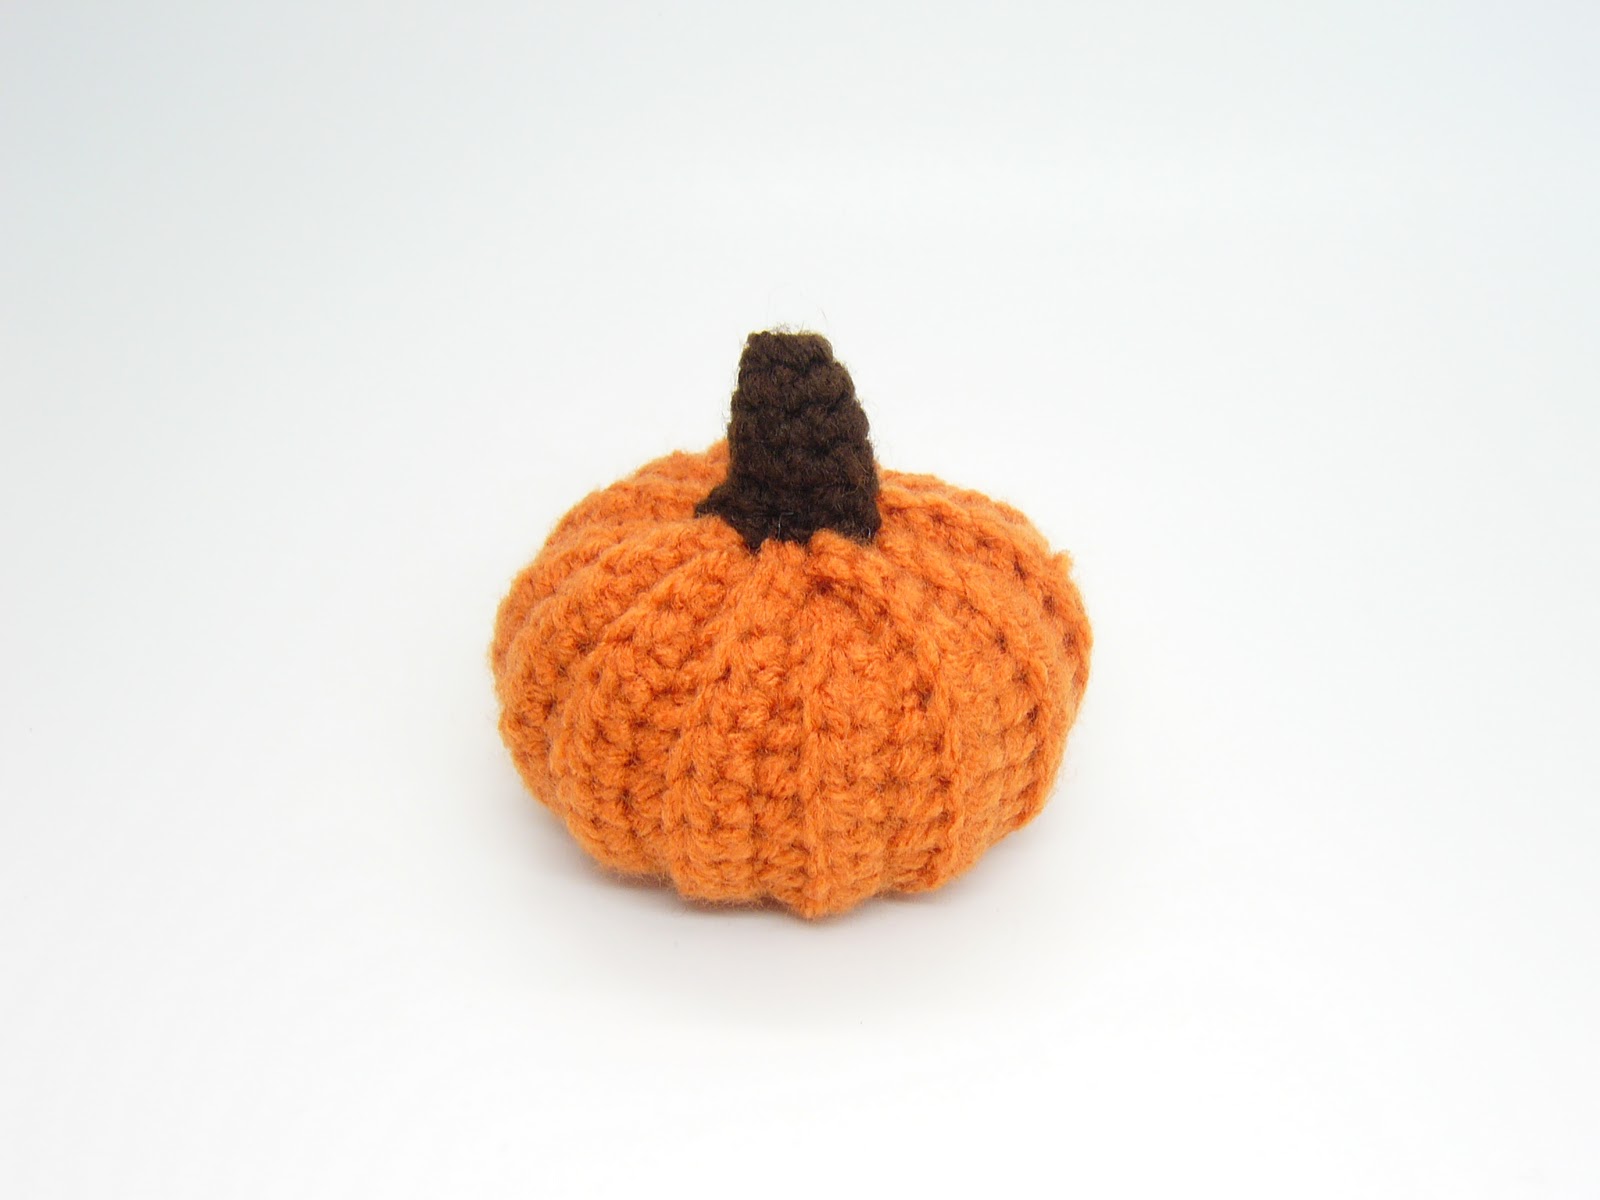
In honor of the fall season, I wanted to make a pumpkin amigurumi. I was searching for free patterns and I was about to give up and make my own pattern. Then I found a pattern that I liked! It's a cute little pumpkin, and I found the pattern on www.planetjune.com via CrochetPatternCentral.com.
Here are a few supplies that I picked up from the Hobby Lobby this weekend. It was my first time in that store and wow, I could've been in there all day! It's probably a good thing that there isn't one near my house. I'm really loving the color of this thread.
What do you think I did with them? I made earrings of course.
I'm working on a necklace to match, but I'm not sure how to make it yet.
PerfectMix Creations is now on ArtFire.com. I just opened up the store there. So far I only have a couple things for sale, but I will add more soon. Come by and check it out.
This is my first Amigurumi! It's not perfect, but it's still cute. I got the pattern on Moon's Creations blog. It's a sackboy from the game Little Big Planet. I'm not exactly finished, I still need to make a little zipper. Once I figure that out, I'll be done! My daughter is excited about this one. I'm sure my son will want one after seeing hers. So I better start on another one.
I just wanted to say thank you to my new and old readers for visiting my blog. You keep me happy and motivated to keep creating. My sun hat pattern was featured again! This time on Craft Envy. Thanks Nicholette!
Here are some earrings that I finished this weekend. Great candy colors. Click the pics for a better view.
I used small glass beads. Instead of dumping them out on the table, I use sea shells to hold the beads. My daughter found a bunch of shells on the beach when we went to Florida in June. I picked a few and painted them with acrylic paint. I think they look cute. I've been looking for something to do with the shells.
I also finished these lovely crochet earrings. They are crocheted with gold cotton thread with a bullion stitch, which is a little frustrating. Maybe I need more practice. I really like how they turned out.
Here is a set made with gold and clear glass beads.
Last but not least, some more macrame. This is a beautiful necklace and bracelet set made with glass beads and hemp.
I was so honored to see that my sun hat pattern was featured on Fireflies and Jellybeans blog for the Sunday Spotlight! Check out this week's other favorites on the blog. Thanks, Fawnda!
I was so surprised to see in my comments for my Floppy Sun Hat post that someone actually requested to have my pattern! I was happy to remake this hat in order to provide a pattern for you! Please let me know if there are any problems or questions.
You will need two crochet hook sizes, worsted weight yarn, and a stitch marker. I used size K (6.5mm) for the main part and size G (4mm) for the brim.
Abbreviations:
ch = chain
sc = single crochet
pf st = puff stitch
Puff stitch: Yarn over, put the hook through the stitch, yarn over pull up a loop (3 loops on hook), yarn over, put the hook through the stitch again, yarn over pull up another loop (5 loops on hook), yarn over and pull through all five loops, ch 1 to secure the stitch.
Main part of hat:
With size K hook, start with a magic circle.
Rnd 1: Make 6 pf st in ring. join.
Rnd 2: ch 1, 1 pf st in the same stitch and each stitch around. join to top of first pf st. (11 pf st)
Rnd 3: ch 1, 1 pf st in same stitch and in each stitch around. join to top of first pf st. (21 pf st)
Rnd 4: ch 2, 1 pf st in next stitch (it will be the stitch in between the pf stitches) *skip next st, pf st in next st* repeat between *s around. join to top of ch 2. (21 pf st)
Rnd 5: ch 2, pf st in same stitch, *ch1, pf st in next stitch in between pf st* repeat around. join in top of 1st pf st. (21 pf st)
Rnd 6: ch 2, pf st in space between pf st, *ch1, pf st in next space between pf st* repeat around. join in top of 1st pf st. (21 pf st)
Rnd 7-12: repeat row 6.
Brim:
The brim is crocheted tightly with a G hook. If you have trouble crocheting tightly, use a size F hook. This is the tedious part and a little hard on the hands. After the first row, you won't be joining anymore, so the brim will be seamless. This is where your stitch marker will come in handy.
Rnd 1: ch 1, *2 sc in space between pf st, 1 sc in top of next pf st* repeat around. join in 1st sc.
Rnd 2: ch 1, 2 sc in each stitch around. mark your last stitch.
Rnd 3: 1 sc in each stitch around. move your marker to this row.
Rnd 4: *1 sc in next 15 stitches, 2 sc in next stitch* repeat around. 2 sc in last stitch, move marker.
Rnd 5: *1 sc in next 16 stitches, 2 sc in next stitch* repeat around. 2 sc in last stitch, move marker.
Rnd 6: 1 sc in each stitch around, move marker.
Rnd 7: *1 sc in next 17 stitches, 2 sc in next st* repeat around. 2 sc in last stitch, move marker.
Rnd 8: *1 sc in next 18 stitches, 2 sc in next st* repeat around. 2 sc in last stitch, move marker.
Rnd 9: *1 sc in next 19 stitches, 2 sc in next st* repeat around. 2 sc in last stitch, move marker.
Rnd 10: 1 sc in each stitch around, move marker.
Rnd 11: repeat row 10.
You can end here or if you would like your brim wider, continue to make increase rows similar to rnds 7-9. Your next increase rnd will be *1 sc in next 20 st, 2 sc in next st.* Add rnds like 10 and 11 to keep the round shape.
I'd love to see your finished projects! I can even feature them on my blog if you'll allow it. Just email the pics to daperfectmix@gmail.com. If you don't want the pics to be on the blog, just let me know, but I would still like to see your projects.
Yesterday, my daughter and I went to this bead store that I found online, called Caleb's Lighthouse. We went for one of their free classes. In this class, we learned how to make macrame jewelry. It was a fun time and we even met some new friends. I made a bracelet and Isabel made a necklace. I really like how Isabel's necklace turned out.
Here is the bracelet I made:
After our class, we went to Michael's and bought some more beads to continue with our newly learned skills. I made another bracelet:
I just wanted to show off this new necklace that I made last night. I found a bead and jewelry supply store that is somewhat close. It's half an hour away. They are having a beginner's beading class tomorrow. Hopefully my daughter and I can make it. I have much to learn, but I really like this new set that I created. What do you think?
I made some new earrings with small glass beads. They are simple but elegant. I want to get more colors and eventually get more elaborate with the beading and styles. I'm still an amateur, you know. Click the pictures for a better view.
I also made something to put my earrings on to display and sell. Well, not so much for display, I'm still trying to figure that one out. This is just a card/backing so the customer will have my info.
I've also been working on a new crochet pattern for my Floppy Sun Hat. Someone liked it so much that they want to make it! I only wish I had taken some notes when I made it the first time. It's coming along though, so that will be coming up soon.
This is going to be my first attempt at writing a crochet pattern. This is a pretty simple beanie, so the pattern shouldn’t be too difficult to follow. I had to make this hat quite a few times to make sure I got my pattern just right. I am also trying to stock up for this fund raiser where I will be selling some things. I’ll tell you more about that in another post. Now, on to the pattern. I used a size I crochet hook. For larger or smaller sizes you can use a larger or smaller hook. I think this hat will fit a teen to adult head.
Abbreviations:
ch= chain
sc= single crochet
hdc= half double crochet
dc= double crochet
First, you will start with a magic ring. Click here for Teresa's tutorial on how to do this.
Row 1: make 7 sc in the ring, pull the ring closed and join.
Row 2: ch 1 then 2 sc in each stitch around, join in first sc. you should have 14 stitches, total.
Row 3: ch 1 then *1 hdc in next stitch, 2 hdc in next stitch* repeat all the way around. join with first hdc. 21 stitches.
Row 4: ch 1 then *1 hdc in next 2 stitches, 2 hdc in next stitch* repeat around. join with first hdc. 28 stitches.
Row 5: ch 1 then *1 hdc in next 3 stitches, 2 hdc in next stitch* repeat around. join with first hdc. 35 stitches.
Row 6: ch 2 then *1 dc in next 4 stitches, 2 dc in next stitch.* repeat around. join with first dc. 42 stitches
Row 7: ch 2 then *1 dc in next 5 stitches, 2 dc in next stitch.* repeat around. join with first dc. 49 stitches
Row 8: ch 2 then *1 dc in next 6 stitches, 2 dc in next stitch.* repeat around. join with first dc. 56 stitches
Row 9: ch 2 then 1 dc in each stitch around. join with first dc.
Row 10-16: repeat row 9. if you would like a longer hat, repeat row 9 until desired length.
Row 17 or last row: ch 1 and sc in each stitch around. join with first sc. fasten off.
I love seeing finished products from my patterns. If you want to be featured on my blog with your finished items, just shoot me an email. If you don't want to be featured but still want to send me pics, that's great too! Just let me know in the email if you want me to post your pics or not.
Everyone can do their part in keeping our environment healthy and livable. I don't have to tell you the basics because we hear it all the time. We learned it in school. We know we should recycle and reduce our trash. Sometimes we would rather have selfish convenience but that's all I'll say about that. I'm not trying to turn this blog into something else, so I'll just get to the point. Here are two websites where you can help to clean up OUR ocean. This is everyone's problem.
Fusion Storm Foundation is hosting a Dream Sail Raffle in order to benefit Ocean Voyages Institute with Project Kaisei. Buying a raffle ticket can win you and three guests a trip to French Polynesia, and help in their cleanup efforts! You will find information on the company and their project by clicking Fusion Storm Foundation.
The ECC has loads of information and multiple ways you can help. Their mission is to inspire, educate, raise awareness, serve, and collaborate. Check out their website to see what they have been doing, and their cleanup plans.
Hawaii is beautiful. The mountains and trees are amazing, and I just wish I could have seen more of the islands. I guess that gives us more reason to go back one day. My husband and I went to Oahu and stayed in Waikiki, which in my opinion is very over priced and too built up. It takes away from the island feel for me. They've got every upscale store you can think of- stores i would never go in. Give me a thrift store any day! So from one extreme to the other, there are many homeless on the island as well. While running one morning we saw some sleeping on the beach, and while walking and riding The Bus, I saw many "homes" made of grocery carts and sheets. I even saw a man get his lunch from a trash can. It really makes you appreciate what you have when you see what others don't.
Overall, we had a great time. I can't wait to go back to see and do more. A few people thought I was a local, and someone thought I was Polynesian. There are a lot of Filipinos there. I wouldn't mind living on an island, but my husband wouldn't like it. He would rather just visit.
When I got back, a friend asked me if the water was clear. I had to think for a second and I told her the water is not as clear as the US Virgin Islands. So I was doing a little research and I think I may have figured out why that is. Hawaii is in the middle of the Great Pacific Garbage Patch. According to Wikipedia, "The garbage patch occupies a large and relatively stationary region of the North Pacific Ocean bound by the North Pacific Gyre (a remote area commonly referred to as the horse latitudes). The gyre's rotational pattern draws in waste material from across the North Pacific Ocean, including coastal waters off North America and Japan. As material is captured in the currents, wind-driven surface currents gradually move floating debris toward the center, trapping it in the region." C'mon people, reduce, reuse, recycle!! This plasic in the water is photodegrading and will ultimately affect the food chain, which includes you and me! It is also killing off Albatross birds that eat the floating plastic or feed it to their young.
So it's been a fulfilling and educational trip. Now I'm back on on the Mainland, back to reality, and back to work. Oh, by the way, you can definitely take crochet hooks in your carry-on in an airplane.
Now back to your regularly scheduled craft blog...


 make it so much easier, but I think any kind of pliers that can grab it will do the job.


 ," and I found a lovely flower. What do you think?

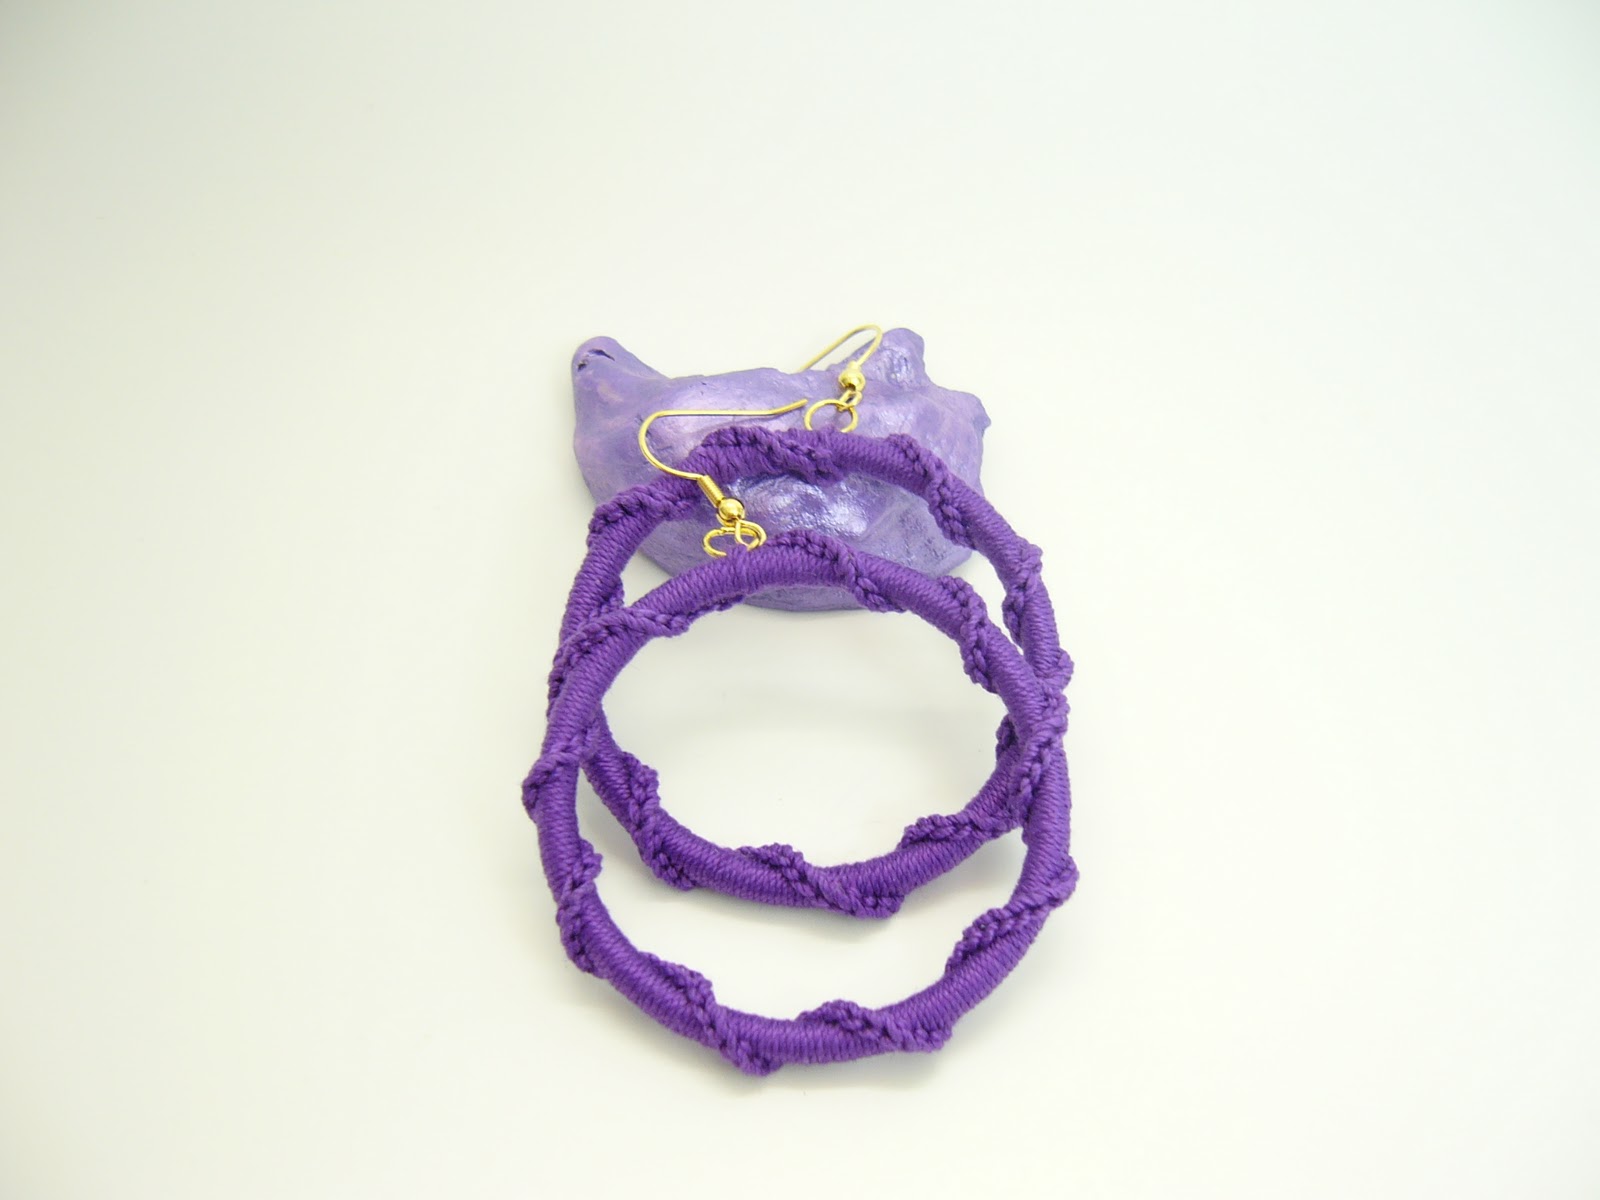


 I'm working on a necklace to match, but I'm not sure how to make it yet.


 Image via Wikipedia


